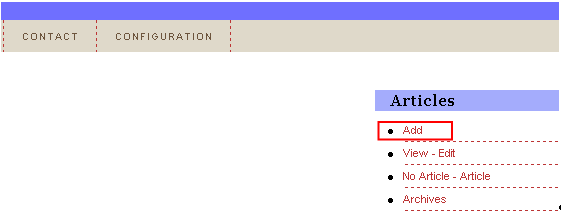
In order to add a new article, choose option “Articles” from the main menu and click on the “Add” button within the “Articles” menu.
Figure 3: Choosing the “Add” option
The following screen will be displayed (note: the screen is presented with 2 screenshots).
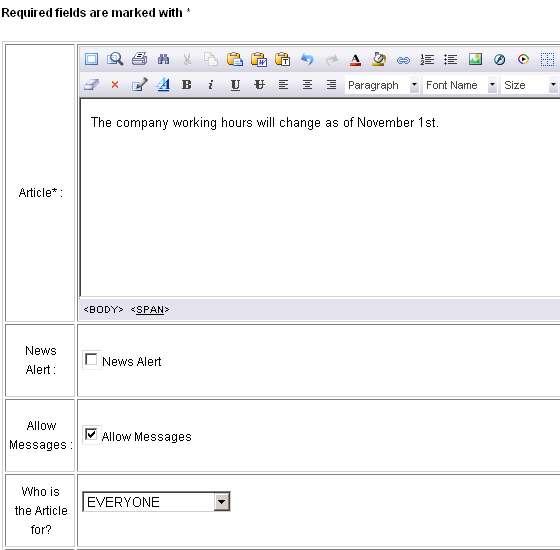
Figure 4: Adding a new article (screenshot 1/2)
The following parameters are available inside the first part of the screen:
Article – text area for defining the body of the article (note: you have many formatting options available within the WYSIWYG editor; place your mouse over each icon to learn its purpose)
News Alert - select this option if you want the article opened in the NewsAlert window on the users desktop
Allow Messages – this checkbox is used if you would like to allow the user to comment on a specific article via the Ticker application.
Who is the Article for? – choose the person or group this article will be displayed to; the following options
Notes:
further information about how to create a person can be found in section (see section Adding a new person)
further information about how to create a group can be found in section (see section Editing an existing person)
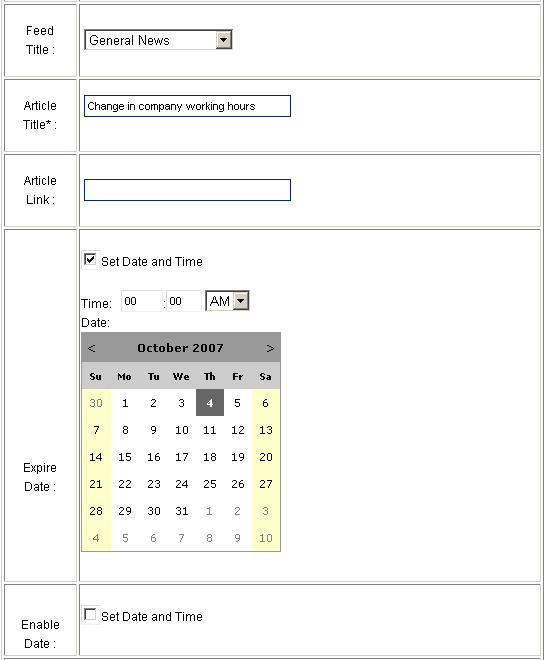
Figure 5: Adding a new article (screenshot 2/2)
The following parameters are available inside this screen:
Feed Title – pull down menu for choosing the feed title (further information about managing the feeds can be found in section Managing the Feeds
Article Title – input field for entering the title of the article
Article Link - input field for entering the URL of the article which will open up in the users browser once he clicks on it in the headline area or on the article
Expire Date – select the “Set Date and Time” checkbox in order to display the calendar and choose the date the article will automatically expire
Enable Date – select the “Set Date and Time” checkbox in order to display the calendar and choose the date the article will start appearing in the Ticker application
After setting the desired parameters, click on the “Add” button and the page will be refreshed containing information about successful creation of the article.
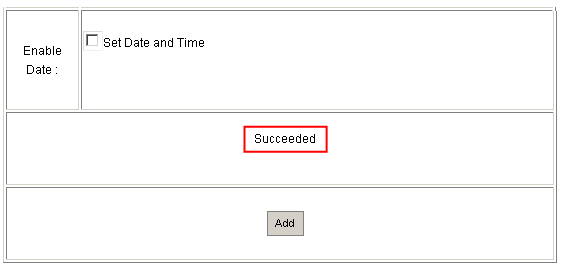
Figure 6: Article added successfully